Looking to transition into online music lessons temporarily or as a long-term addition to your studio offerings? With My Music Staff, all aspects of your business can be managed remotely – from any device connected to the internet. The platform has a number of features that will support your students’ learning, and offer studio owners and music teachers an all-in-one solution to online music lessons.
Here’s how you can get your studio ready to teach online music lessons:
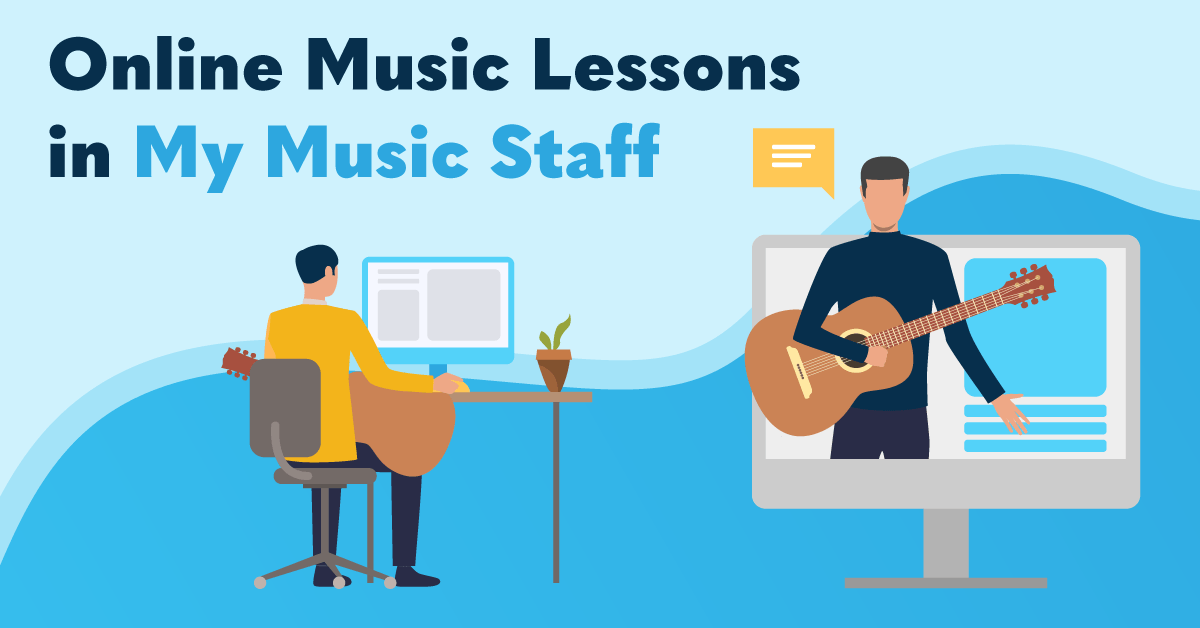
Live Video Lessons
MMS has introduced video integration with Skype, Zoom, and FaceTime to help with the transition to online lessons. See below for instructions on how to get started or view the instructional videos here.
Once you have entered your students’ Skype usernames in their Student Details, here is what you need to do to get set up with MMS and Skype:
- Go to Calendar and select “Categories” from the toolbar
- Select the Locations tab and click “Add Location”
- Name your new location (Ex. Online Lesson), select “Online Skype Lesson” from the address list and click save
- When you schedule a lesson with the new location for online Skype lessons the location name will be clickable
- Clicking on it will open Skype and automatically call that student
This feature works with group lessons too! Maximum of 9 students, but a maximum of 5 students is recommended. We chose to integrate with Skype because it’s free and works with nearly every platform (desktop, laptop, Mac, Windows, Android, iOS, etc.). This makes it simple for all of you and your students to be able to continue your lessons online without hassle.
First you’ll need to sign up with Zoom if you don’t already have an account. Then, add your Personal Meeting ID to My Music Staff. Click here for single teacher studio instructions and here for multi-teacher studio instructions.
Next, you’ll need to add lessons to your Calendar:
- Navigate to the “Calendar” from the main menu on the left
- Click the “Categories” button above the calendar
- Select the “Locations” tab and click the “Add Location” button
- Give your new location a name and choose an icon to represent this location
- Choose the “Zoom Meeting” option
- When scheduling a lesson, choose the appropriate location from the “Location” drop-down menu
You can begin your Zoom meeting by clicking the location from the event details or from your Home Agenda by clicking the Zoom Meeting button. Students can join the Zoom meeting by clicking the link in the Student Portal Calendar, or the link in their email reminder.
To get started, you need to add the student’s FaceTime ID to their profile. Once you’ve recorded this, you can schedule your FaceTime lessons:
- Navigate to the “Calendar” from the main menu on the left
- Click the “Categories” button above the calendar
- Select the “Locations” tab and click the “Add Location” button
- Give your new location a name and choose an icon to represent this location
- Choose the “FaceTime Lesson” option
- When scheduling a lesson, choose the appropriate location from the “Location” drop-down menu
To begin your FaceTime lesson, call by clicking the location from the event details on the Calendar or from your Home Agenda.
 English
 French
 Japanese
 Spanish
 Dutch
Dutch
 German
